
How do you use SSIS to copy files up to S3 storage? Using the AWS CLI, it is a piece of cake. No expensive third-party plugins needed.
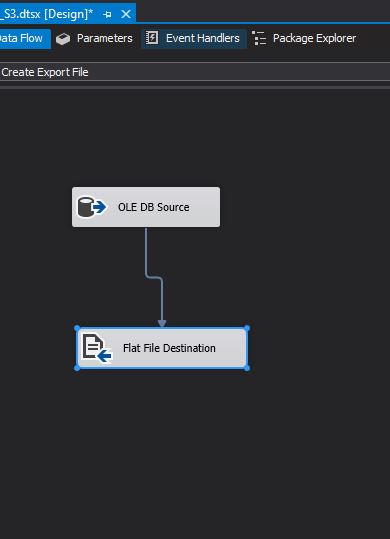
Below we have a simple ETL job that spools query results to a CSV file. Now we need to copy the file to an AWS S3 location.
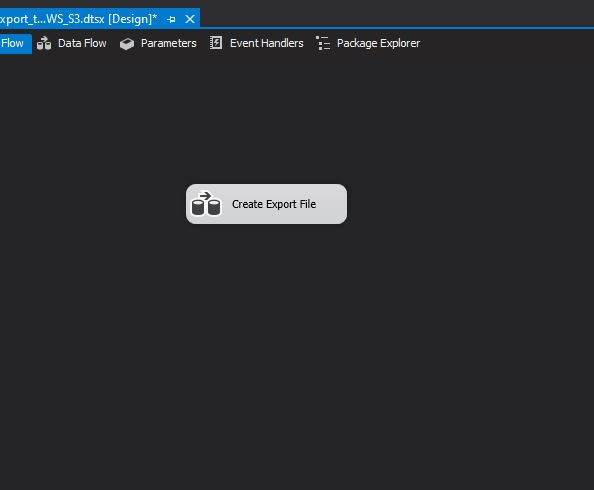
Simple, just a query and a save to a Flat File Destination.
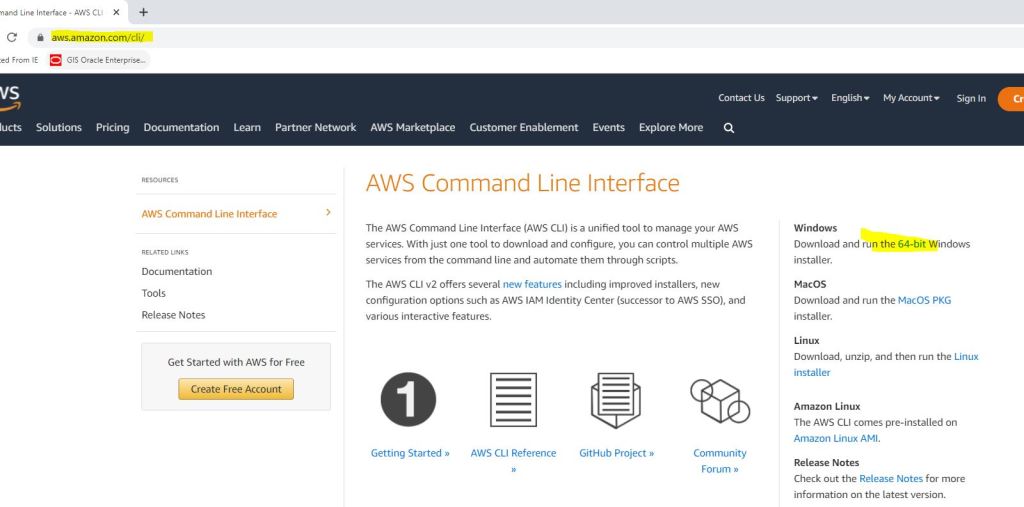
Now we need to download the AWS CLI utility. You can get it from here or search the AWS site for it. https://aws.amazon.com/cli/ I am downloading the 64bit version.
After downloading the file, find it on your server.

Now double click it to start the install process.
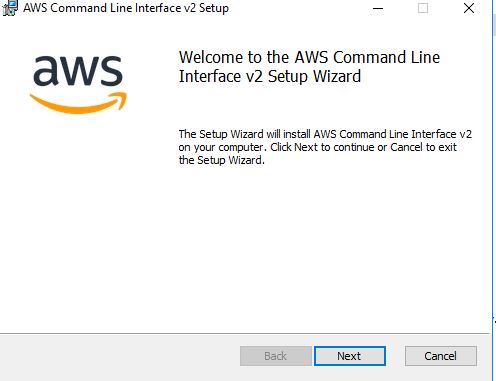
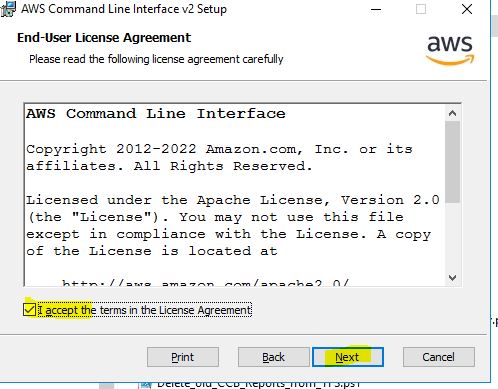
After clicking Next, click the accepting of the License agreement and click Next.
Pick your location to install. I am choosing the default location.
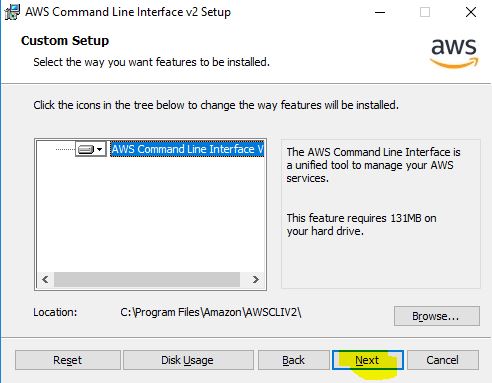
Finally press Install to do the install.

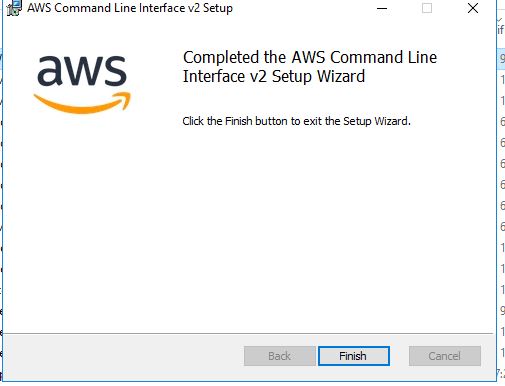
After the install, you will get this prompt.
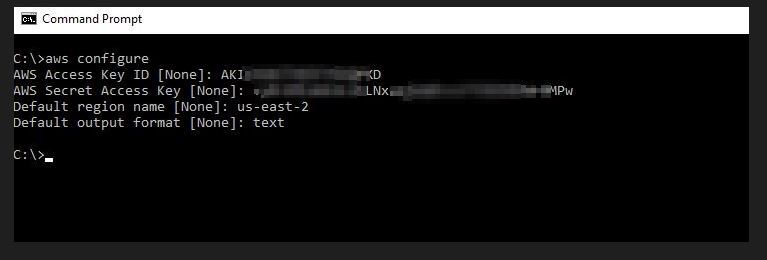
After the AWS CLI is installed, you need to configure it with your settings.
Go to a command prompt and type: aws configure
Then press enter. It will prompt you for four pieces of information: Access Key ID, Secret Access Key, Default region, and output format.
Now that you have it configured, it is best to see if you can get a directory listing to make sure everything is setup correctly.
Using this command, you can see all of the files currently stored in your bucket. ls gets you a directory listing just like in Unix/Linux. Important: your bucket name is case sensitive, so make sure you type it in correctly. Don’t forget to put a / at the end.
aws s3 ls s3://your bucket name/

Now that we know that we can get to our bucket, we can configure SSIS to copy the file to it.
In SSIS, drag a Execute Process Task to your project and join it to the Create Export task.

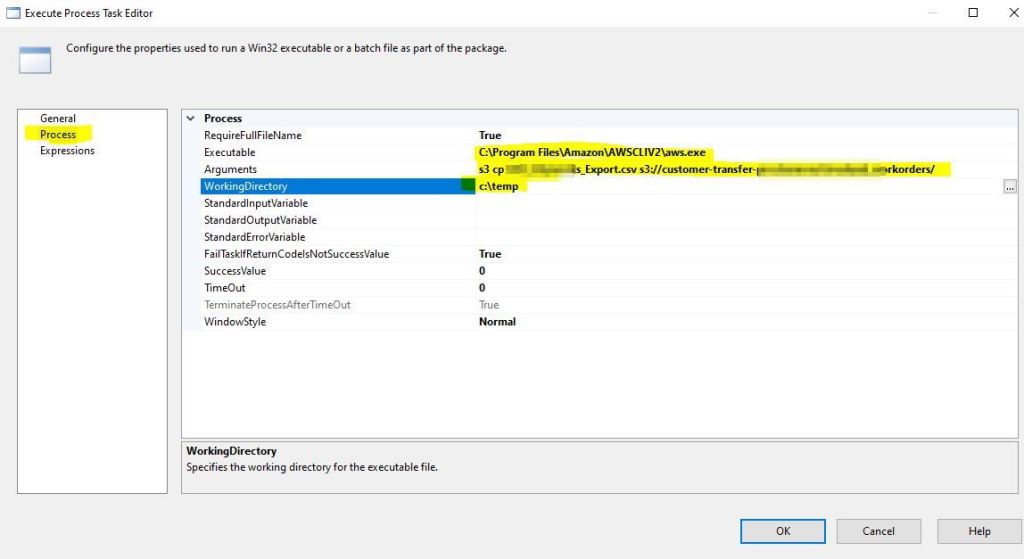
Double click the Execute Process task, and then go to the Process tab. Here we need to configure 3 settings.
First thing is to provide the executable that you want to run. We want the AWS.EXE file, so remember where you installed it and put the full path and name in the field.
Next we have to supply some Arguments. These are just what commands we want to pass to the executable. CP means to copy.
Important: Make sure you put a / at the end of your bucket name.
s3 cp XXXX_XXXX_Export.csv s3://customer-transfer-xxxxx/xxxxxx_workorders/
Finally, you need to provide a Working Directory….this is just where you want to copy the file from. My export is going to the C:\temp directory, so that is where I want to copy the file from. Then press OK.
Now let us run the entire ETL process. All green check marks, looks like it worked.

Here I am doing another directory listing command to make sure my file got copied up and it did.

That is how you copy files to your S3 bucket. You do not need to get any expensive plugins to Visual Studio, you just need to roll up your sleeves and use the command line!
For more information about the commands that can be used with the AWS CL, the documentation has it all: https://docs.aws.amazon.com/cli/latest/userguide/cli-chap-using.html

Nice, it really helped. however my use case is to copy the file from S3 bucket to my one my server location. It worked fine when I execute SSIS package on my local machine directly, but it fails at s3 copy command when SSIS package runs via job on SQL dev server. Any thoughts? Thanks in advance
LikeLike
Usually when it runs on the local machine and will not run on the server it is a permission issue with the username(s) associated with the Agent Service or Database service. Check that those usernames have access to the executables and paths. Otherwise you will need to post the error messages so we can look at it.
LikeLike